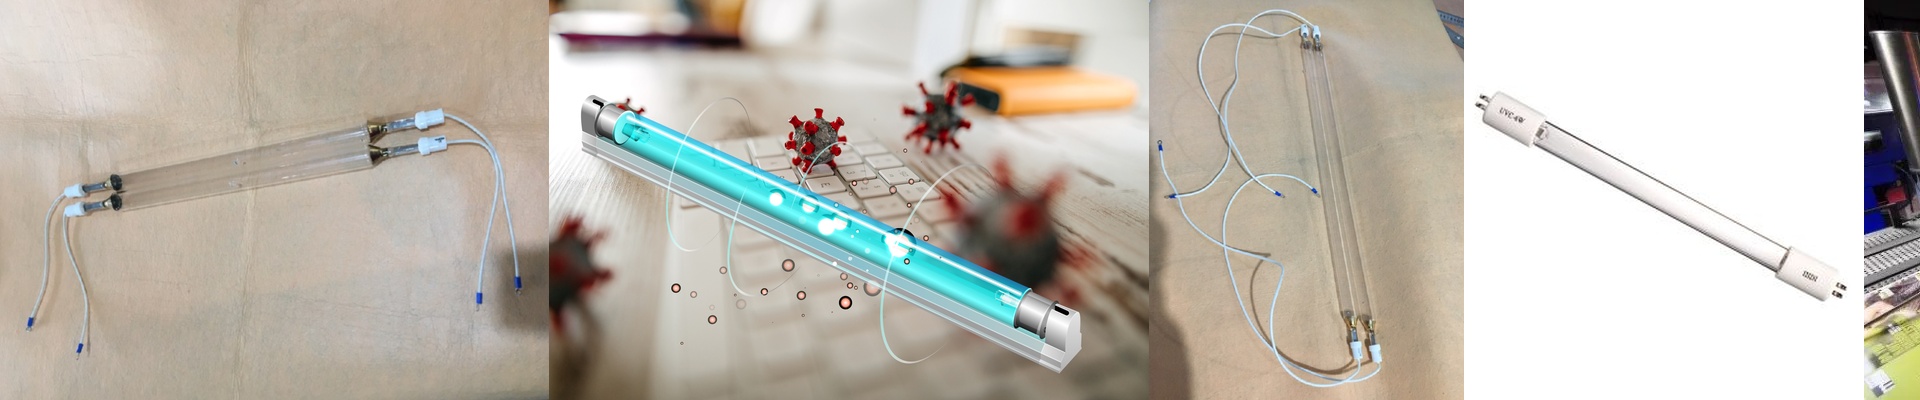
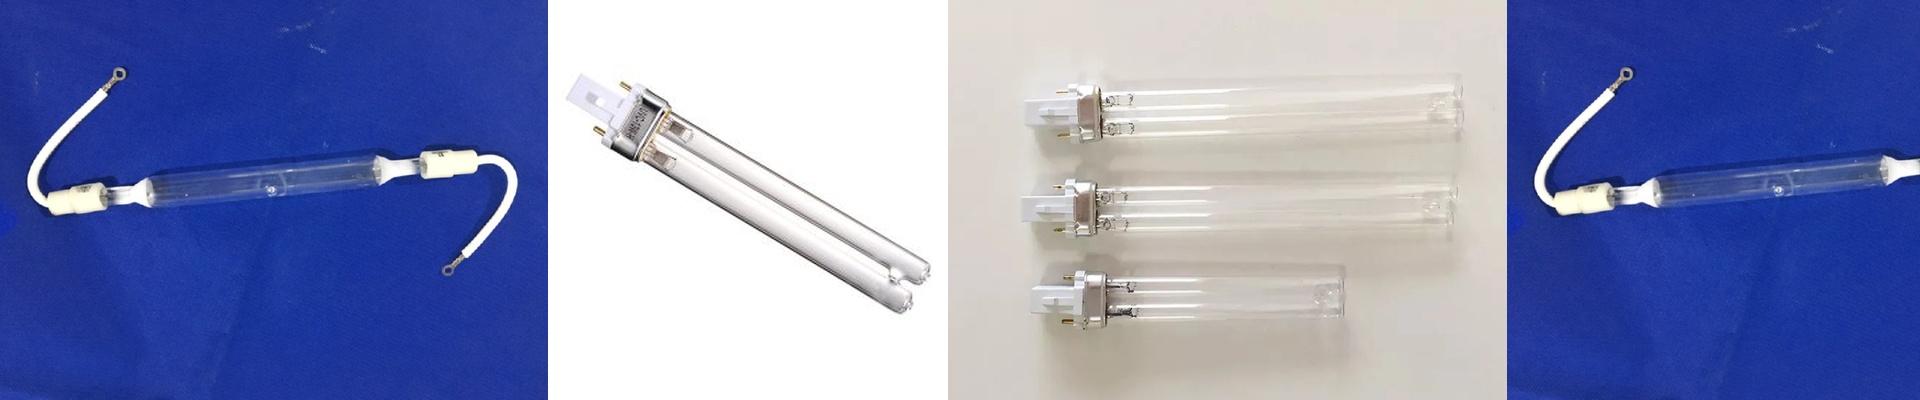
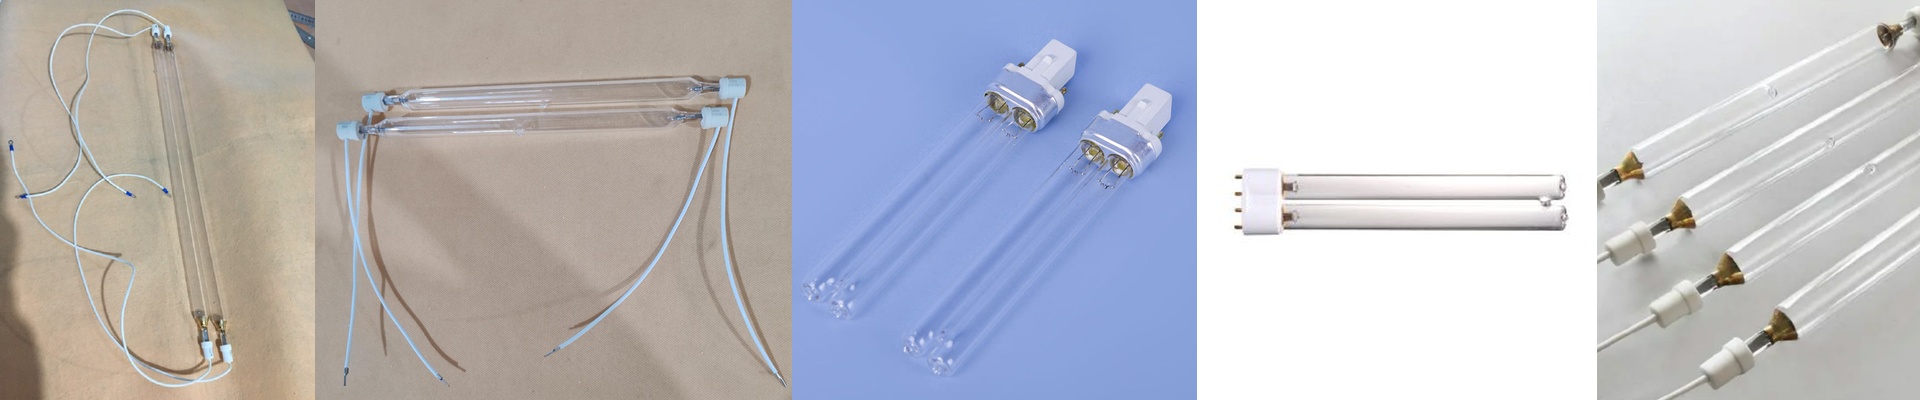
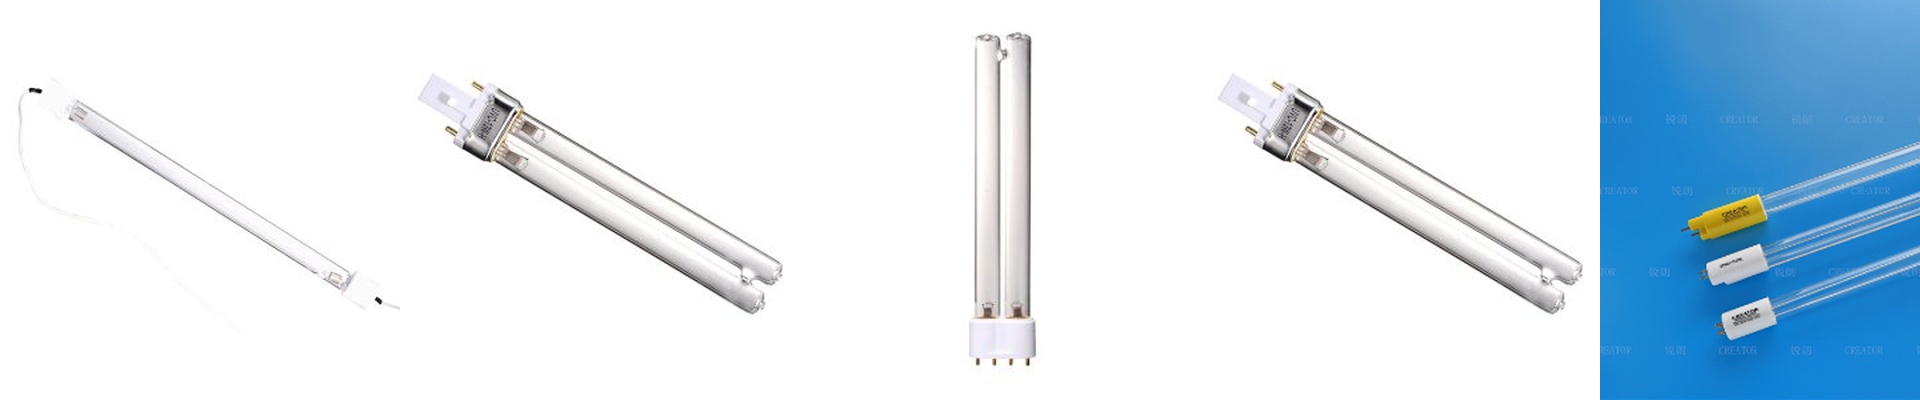
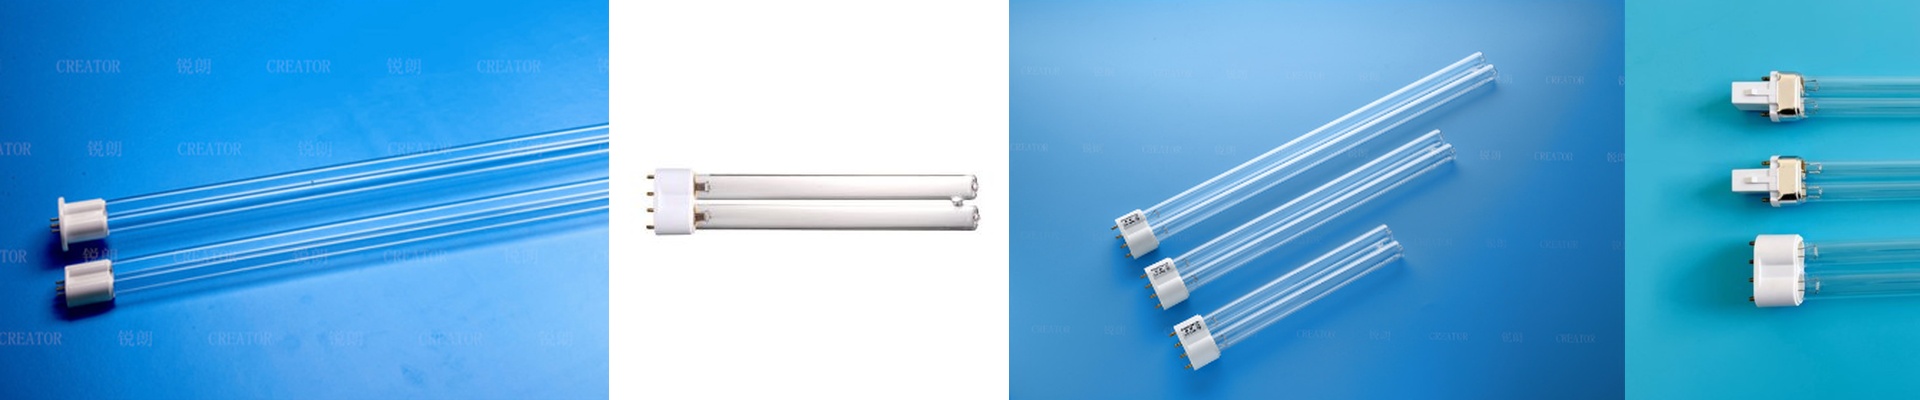
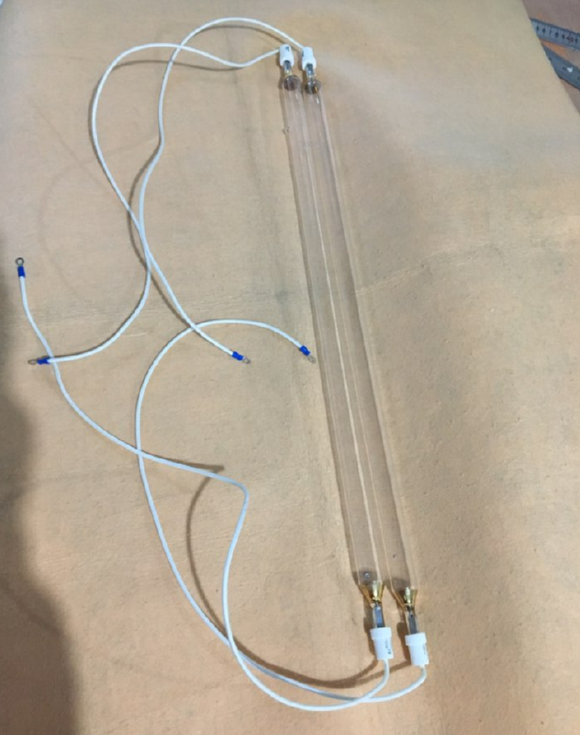
Out on the line, a bird cage part rolls under the pad printer, then the screen press. Ink lays down clean, but the color drifts—batch to batch, shift to shift. Nine times out of ten, it’s not the ink. It’s the mismatch between the photoinitiator absorption band and the UV lamp’s spectral output. When the wavelengths don’t line up, the curing reaction never finishes cleanly, and pigment orientation shifts. That’s what gives you color variance. What actually matters, technically We build the lamp around the ink’s photoinitiator window—usually 365nm or 385nm—and hold the spectral tolerance tight at ±5nm. Keep spectral consistency across the arc length, and you keep peak irradiance uniform across the substrate. No under-cured edges. No over-cured centers. Our high-pressure mercury lamps hold stable output, with less than 5% attenuation after 5,000 hours. The dichroic reflector focuses the energy onto the cure plane instead of dumping it as heat. Why this works on this job On pad and screen work for bird cage parts, color consistency is the pass/fail. When the wavelength matches, cross-linking finishes in the intended time window, locking pigment dispersion and controlling dot gain. The payoff is repeatable Lab* values, higher line speeds, and fewer rejects. Energy use drops because the reflector and stable spectral output deliver the required mJ/cm² without overdriving the lamp. A few shop-floor realities Match the lamp to the printer’s reflector geometry and shutter clearance. A mismatched reflector wastes energy and creates hot spots. Check the substrate’s heat tolerance—even ozone-free lamps still radiate IR. In dusty environments, plan for quartz window maintenance. Film buildup scatters output and shifts the effective spectrum. And specify the exact connector and arc length up front so you don’t end up doing rework.