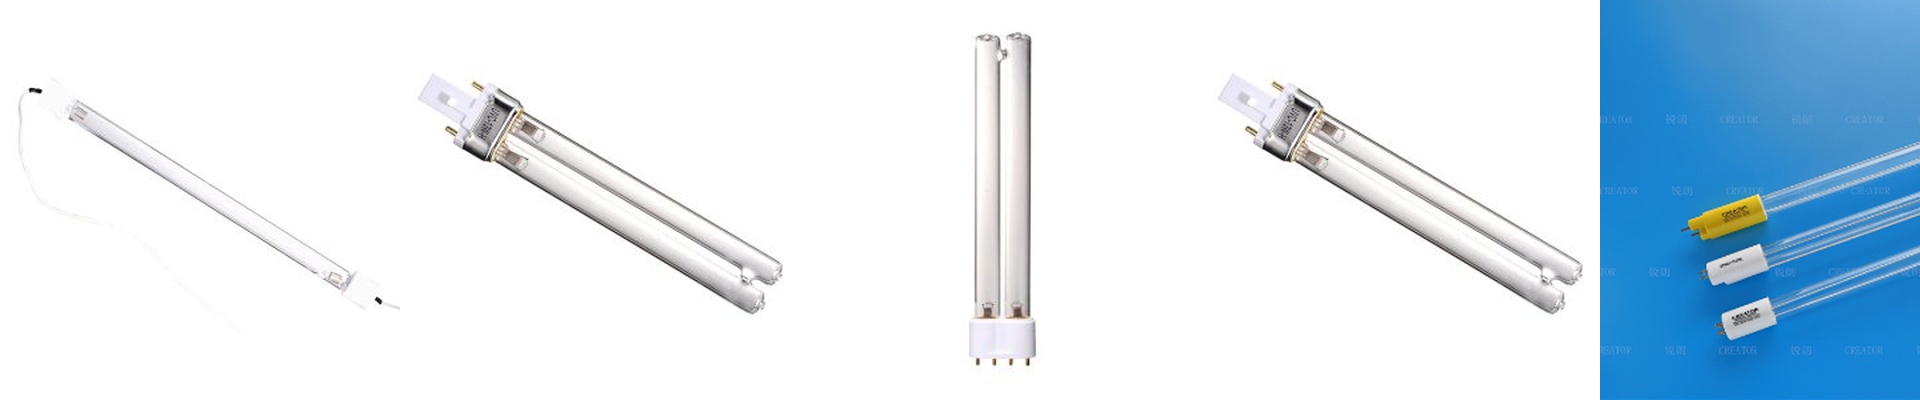
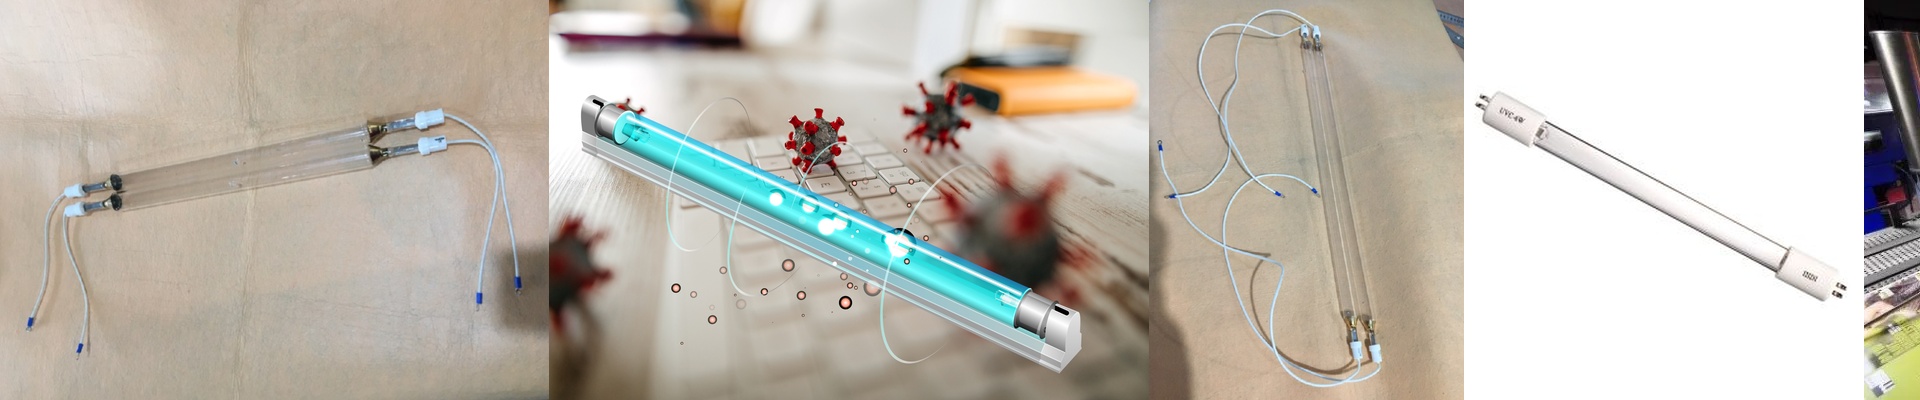
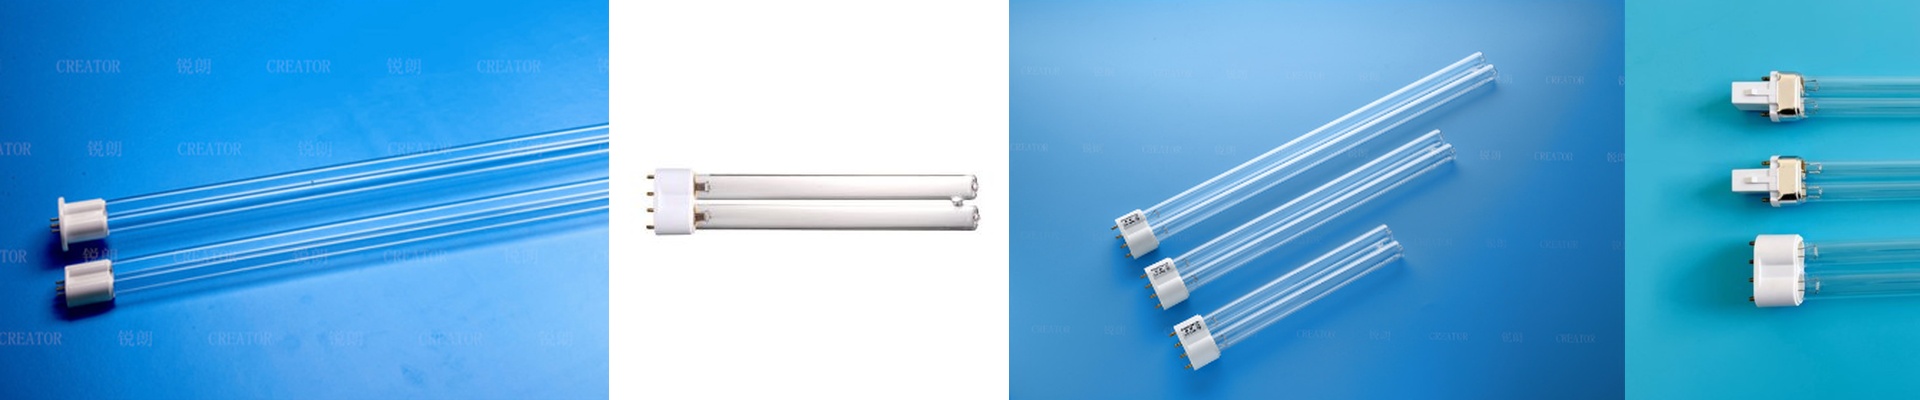
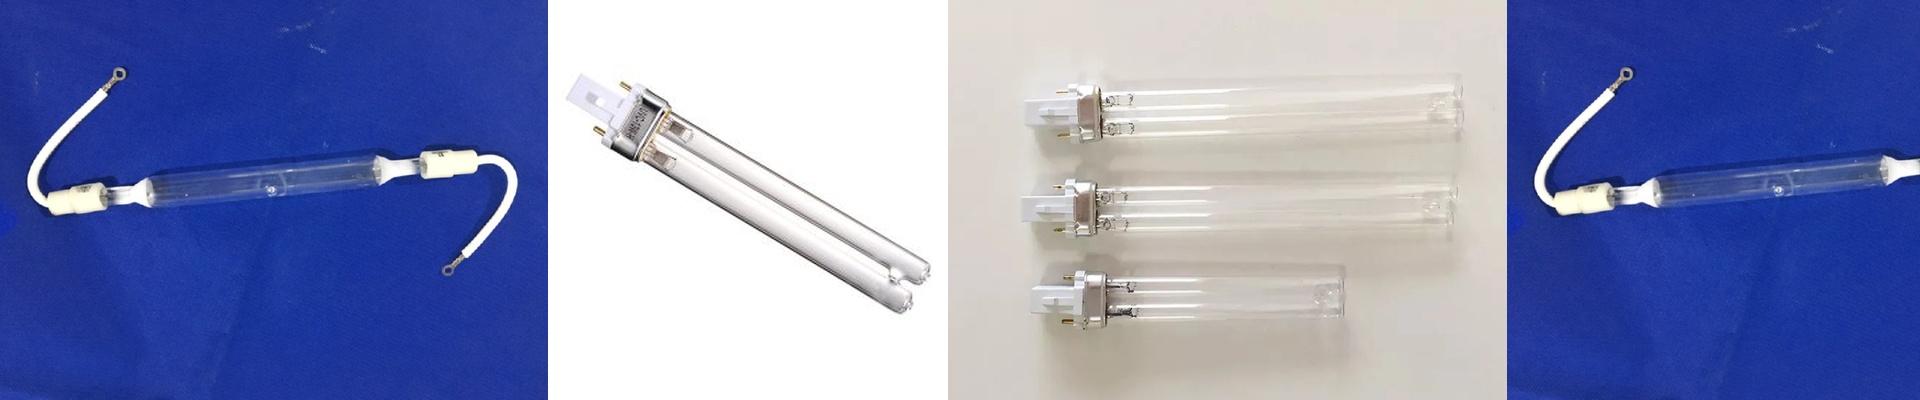
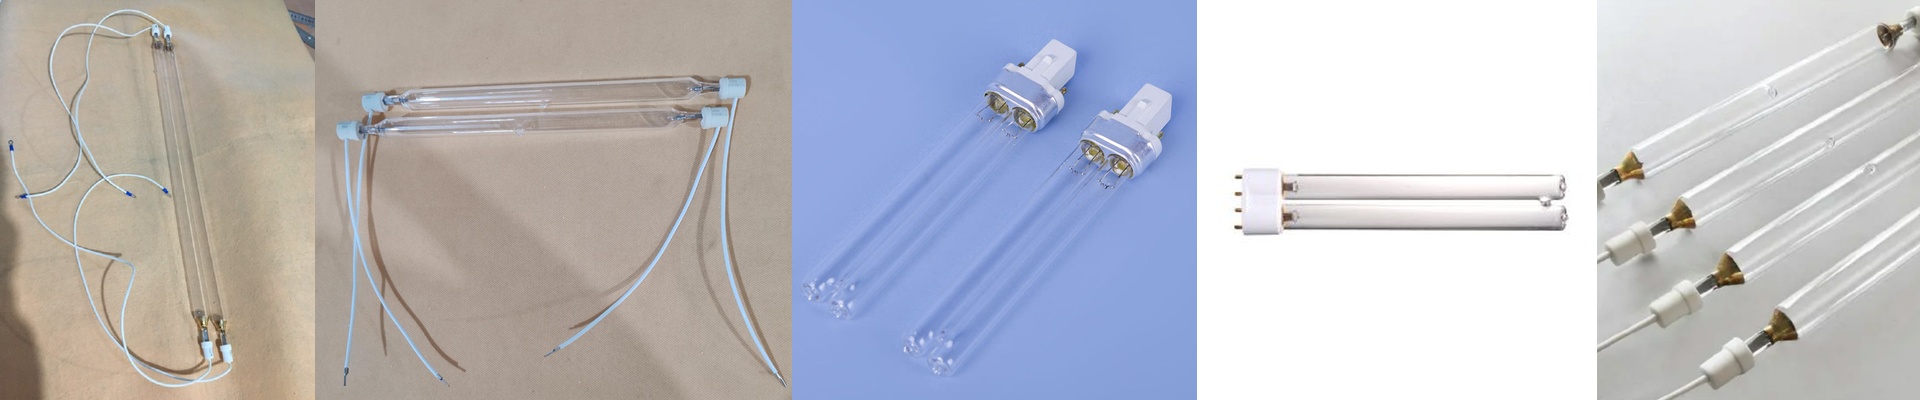
On the floor, the printer is rarely the bottleneck—it’s the curing window. If you want to push more substrate per hour without adding space or another machine, you have to squeeze more curing energy into the same footprint. That means upgrading the UV module.
What actually matters under the hood
It’s less about raw wattage and more about controlling spectral power distribution. We shape the output to match the ink’s photoinitiator absorption—usually a tight spike around 365nm for penetration, backed by 385–405nm for surface cure. That gives you higher peak irradiance at the substrate plane, so cross-linking happens in one pass, instantly. You get more energy density (mJ/cm²) without cranking line speed, and the dose stays repeatable across the full web width. The lamp module uses optimized reflector geometry and dichroic coatings to cut spectral waste—more photons do the work, less energy turns into heat.
Why this plays well in the real world
When you retrofit, the upgraded UV lamp module drops into the same slot. Press geometry stays intact, but curing capacity jumps roughly 30%. That extra margin translates straight into higher print speed—no dryer length change, no footprint change. You see throughput gains immediately, and you get more consistent cure on thick deposits and dense colors: fewer off-spec sheets, less rework, and adhesion that holds up on tough substrates. Energy per printed part drops because the system idles less and needs fewer lamp cycles.
The details that keep you out of trouble
This isn’t plug-and-play on every press. You have to confirm fixture dimensions, aperture height, reflector shape, and the electrical interface. Sometimes you’ll need to update the power supply and interface board to match the new load and control logic. Higher irradiance also means more heat on the substrate. Check thermal tolerance, and adjust airflow or spacing between stations if you need to. Get the integration right, and you can boost output without buying a new machine.